So you want to grow vegetables for home consumption in Mumbai? Here a quick and easy guide to show you how!
SITE SELECTION
- SPACE: If you don’t have an open plot, then a terrace, balcony or even a window sill/grilled window box will work – as long as the sun doth shine on it!
- SUNLIGHT: Most veggies need eight to ten hours of sunlight daily. The minimum daily requirement is three to four hours (shade-tolerant herbs only).
- ORIENTATION: While any face would work in our tropical zone, South facing sites are best as they get more sunlight in our hemisphere – from the rising, noontime and setting sun.
- WATER AVAILABILITY: Nothing beats natural rainwater to make your plants happy, but if your site is indoors, ensure that tap water is convenient to access.
MATERIALS
- CONTAINERS: If you have an open plot available, consider yourself blessed in space-starved Mumbai. Otherwise, invest in containers. These are available in all shapes, sizes and types in farm/garden stores. Alternatively, use recycled containers like clean paint bins, empty matkas, 1 liter plastic bottles etc. I recommend earthen containers for ground floors/outdoor use, and lighter-weight plastic containers for terraces/indoor use. Generally, bigger is better, because of the number and variety of nutrients you can accommodate to grow veggies to full size. Big containers also enable the healthy interaction of several co-dependent plants through mixed cultivation. Please know, and this is very important, all containers must be fitted with drainage holes for water to pass through. If you place trays below to catch that water to protect your flooring, then ensure that these trays are emptied every three days and disinfected regularly, to prevent mosquitoes from breeding in that stagnant water.
- STONES/BROKEN BRICKS: You will need about three inches of stones/bricks at the bottom of each container for proper drainage. Any natural stone or brick (not cement) will do.
- SOIL: Earth needs to be added over the stone/brick layer in your containers, to one inch short of the rim of the container. Organic Earth is always a first choice, but if that is not possible then do try to use cleaner, non-chemicalized earth. To this you can add soil amendments like the versatile Vermicompost and a dash of Cow-Manure as a basic starter potting mix. You could then think of other organic nutrients like BoneMeal/Fishmeal, Limestone, Epsom Salts, Cottonseed and basic fungicides/pesticides like Neem and Wood Ash, as per the specific requirements of your plants. For seeding/mcrogreens (and not general growing as there is little nutritional value in this amendment) use Coco Peat. Alternatively, use the more expensive but priceless Vermiculite Dust to give you a similar loose and sterile medium for seeding/microgreens, and to increase soil aeration. Some Cocopeat or Vermiculte Granules in your potting mix will enhance root formation for rooting veggies. You could buy any of the earth-friendly soil amendments mentioned here, at my Marketplace. However, if these amendments are beyond your budget, simply start with what you have! Let me share a secret with you….plants want to grow! Give them a decent enough medium, and they will grow!
- MULCH & GREEN COVER: It’s a good idea to layer mulch around growing plants. This has four benefits – it prevents weeds, reduces water evaporation, controls insect access and keeps soil temperatures stable. And guess what? If you use natural wood shavings from any timber shop (not wood dust) as mulch, they will eventually decompose, thus adding nutrients to your soil and increasing water retentiveness. Another option is to grow green ground cover like mint around your plants – stuff you can eat when needed! Start your mulch or green cover a few inches away from the stem of your plants, so they can grow without irritation. Also remember that if you use green cover, it will compete for nutrients with your main plant as it grows, and sometimes overpower your main plant. So keep that mint in check!
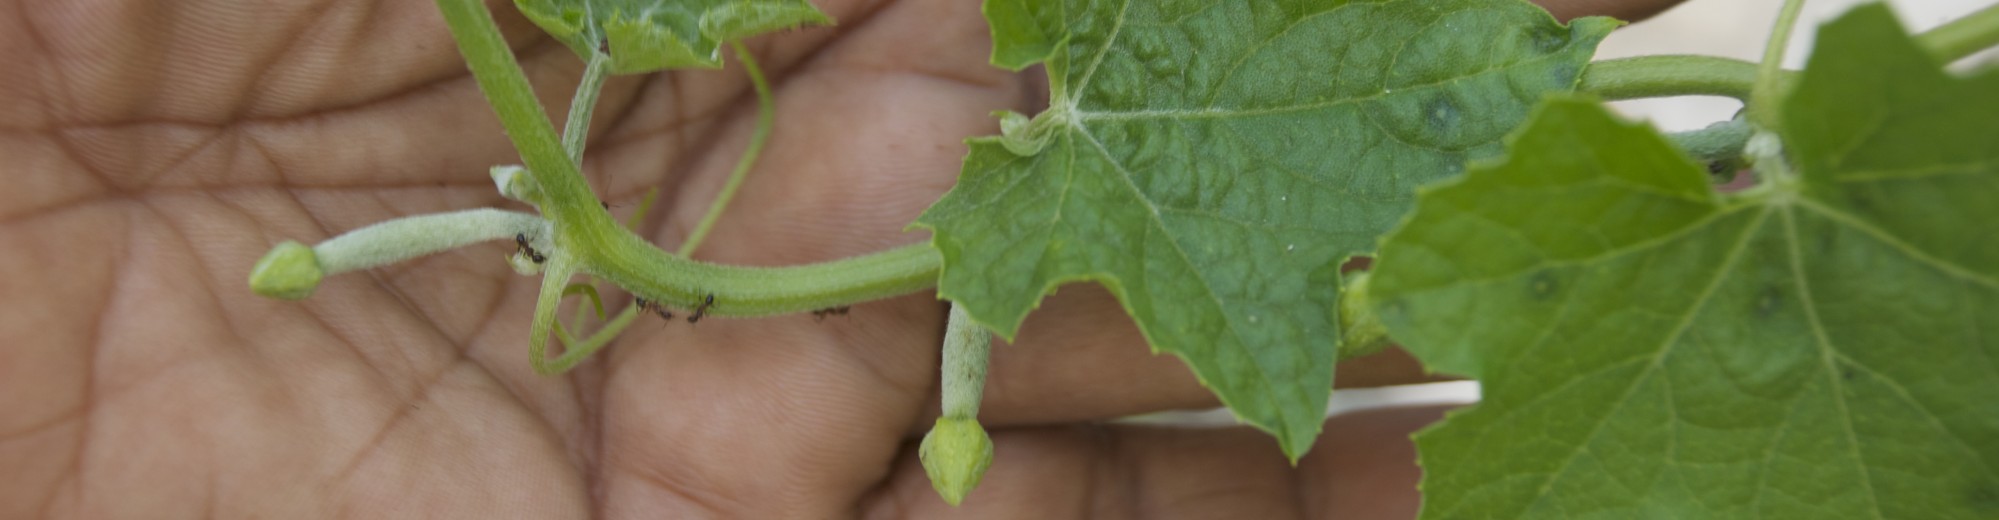
- SEEDS, SHOOTS, SEGMENTS ETC (PROPAGATION): It’s a challenging, though extremely satisfying art, to propagate from seed. If you want to skip the learning curve and save time, use young plants or saplings instead. Give your young ones a couple of days to hang out and acclimatize in the shade of your site, before placing them in full sun.
- GARDEN EQUIPMENT: You will need watering cans (two are better than one and you won’t need to twiddle your thumbs waiting for the one watering can to fill up), gardening gloves (washable rubber and cloth combo gloves are great), shovel and pitchfork (hand-sized) and gardening scissors. It’s useful to have a couple of large tubs for mixing earth and emptying pots, and a super size compost bin for garden waste. I neither use nor recommend the use of ANY chemical fertilizer or pesticides WHATSOEVER. It is quite possible to get by – perhaps slowly, but infinitely more cleanly – using only natural means to grow and nurture your plants.
- MISCELLANEOUS IMPORTANT STUFF: Sunglasses, hat, gardening shoes/slippers, and an easy chair – for those moments when you can sit down with a cuppa and watch your sweet plants grow!
GARDENING ROUTINE
Once they have found a place to call home, your plants will love a routine and look forward to seeing you everyday! Be sure you water them daily, either in the mornings or evenings (twice a day is great for Mumbai summers, and perhaps not at all during Mumbai monsoons), de-weed regularly, trim dead/diseased foliage, and train your creepers to go places. Water well around roots, more lightly across the container and over the plant, remembering at all times that over-watering is the main cause of plant death. So take it easy, enjoy the outdoors and may your little urban farm prosper!
See also Growing Organically, Growing Bio-Dynamically & Growing from Seed-The Art of Propagation! Click for greater detail on Soil Info and Soil Elements & Amendments
© Mumbai Farmer 2013. Do not copy in part or whole without prior written permission from the author. Infringement of copyright will render you liable for legal action.

Would like to have Oregano at my place. Could you help me with Oregano seeds?
LikeLike
I don’t supply seeds or plants – but you can check at any garden shop for seeds However oregano is more easily propagated by cuttings – just buy fresh oregano and plant sturdy stems to grow your own plant.
LikeLike
Plz mail me this info to my I’d as its very informative and important for an amateur like me.
LikeLike
Glad you found it useful. I do not email info individually but you are free to reference this on the website whenever you wish!
LikeLike
Hi
I stay in Dombivli, central suburb in Mumbai. I have a small open terrace in which I started growing few veggies and herbs six months back in containers. I have got little success but plenty of failures.
A bitter gourd plant I started from seed in Feb 15 has grown well, but has only sprouted male flowers and not a single female flower.
A tomato plant I started again in Feb 15 has grown nicely upto 4 feet and giving lot of flowers, but repeated hand pollination attempts has yet not given single fruit.
Please let me know where I am going wrong.
LikeLike
Hi Avinash,
Please see the page on Growing Bitter Gourd (link on Plantopedia Page) to see how to prune the plant to enhance female flowers from lateral branches. About tomatoes, this is surprising as they are ready growers, and the only thing I can imagine that is going wrong is that there are no bees visiting your area. Hand pollination for small tomato flowers can be tricky, and bees/butterflies do a far better job than we could. Do you have bees in your area? If not, you could consider growing flowering plants with big showy flowers to attract them….Good luck 🙂
LikeLike
Thank you for your immediate reply. Will keep posting.
LikeLike
I have purchased succulent seeds from amazon, I would request you to guide me how to grow these please
LikeLike
Hi Supriya,
I’m glad to know you are interested in growing succulents from seed! The basic principles of growing remain the same i.e. your seeding container should be well drained, moist and exposed to sunlight. In the case of succulents, choose a light, porous and well draining potting/seeding mix like our Mandy’s Farm Organic Cactus/Succulent Potting Mix or any similar other. Sprinkle seeds on the surface and top off with a light sprinkling of soil mix. Spray daily to keep the soil moist (not soggy) & ensure at least 8 hours of sunlight each day. Most cactus/succulents germinate between 2 weeks to a month. Good luck!
LikeLike
Hi
I have tried few vegetables on my own, but would like to try other vegetables too, planning 10-12 containers on my terrace. Do you provide support (people and plants) for initial set up of kitchen garden.
Regards
Radha
LikeLike
Hi Radha…yes, we do offer consultation services and our office has been trying to connect with you after you sent us your request! You could also browse this website for all the information you need to grow your own veggies in containers in Mumbai!
LikeLike
Loved this post, thanks! I notice that you propagate natural growing methods for plants which is great.
I have started seeding kitchen herbs using cocopeat for some micro greens. Any tips and nutrient info on microgreens? Or is this just a fad?
Regards!
LikeLike
Hi Maitree, glad you liked this post! Microgreens are more than a fad – they are actually nutritionally more dense than more mature vegetables of their type, and relatively easier to grow. You can certainly grow them in cocopeat for the first two weeks of growth as most plants contain enough nutrition in their seeds to sustain growth till that stage. After two weeks you could harvest or add an organic liquid fertiliser and/or use a mix of soil and cocopeat in your potting mix if you intend to grow them until 6 weeks (which is usually the end time frame of microgreen growing).
LikeLike
Thanks Mandy! I saw this response a bit late.
Since I reached out, I’ve harvested methi and brown chana greens twice! I also planted mustard which was crunchy and beautiful.
However , my last few attempts have been marred by fungus -also thanks to the rains and lack of sufficient sun light. Part of it was to do with my zealousness of packing in too many seeds together!
And now, as much as I try my coco peat soil seems infested. For example, I planted 8 hour soaked dried peas yesterday. By morning most of them have a white halo of fungus around.
A quick note on how I treat soil mix after every use. I don’t reuse as there are roots. I put in between thin layers of fresh cocopeat and soil and let it sit in a covered bucket for atleast 3 weeks. I also throw in some sun dried kitchen waste from home. The last time I did this, the soil mix looked beautiful and broken down.
Please suggest what could be leading to the fungus. If I don’t water the cocopeat well (once a day) it dries quickly.
LikeLike
Hi Maitree, I’m not sure what is the percentage of cocopeat to composted soil you are using but it appears to be heavier on the compost side. Given the monsoon weather, lack of sunshine and if the soil mix is too humus-rich and water retentive, and with dense planting too, fungus will be likely. I suggest growing under bright grow lights or full sun (you can cover with a baby net to protect your greens from birds and insects) and using more cocopeat in your mix. Freshly composted soil is great for established plants but may be carrying more pathogens (if not decomposed properly) for the saplings to handle. Soil borne viruses can cause/exacerbate the situation making it prone to fungus. Another option is to add in neem powder/granules in your mix. It improves soil acidity and usually is very effective in deterring soil borne fungal infections. Good luck with the growing!!
LikeLike